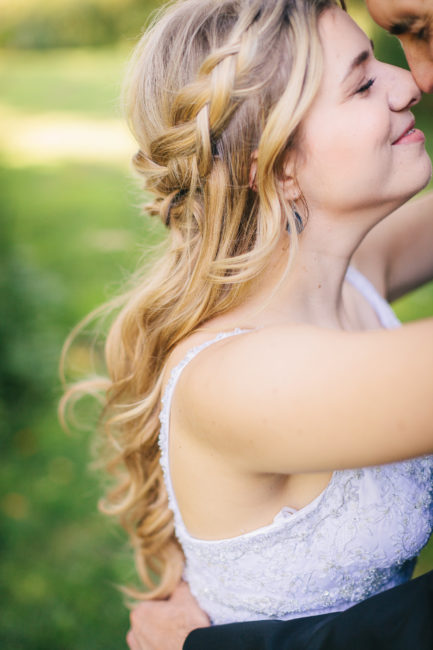
Hello loves! I’ve had more comments, compliments, and questions about my wedding hair, that I’ve created a tutorial so you can recreate the look at home. For my wedding day, I had my hair done by the lovely Olga at Swink Style Bar here in Seattle but have since recreated the look at home with some ease. Now this is by no means a quick-and-go hairstyle but would be beautiful for a wedding (duh), prom, or even date night. Here’s how I did it!
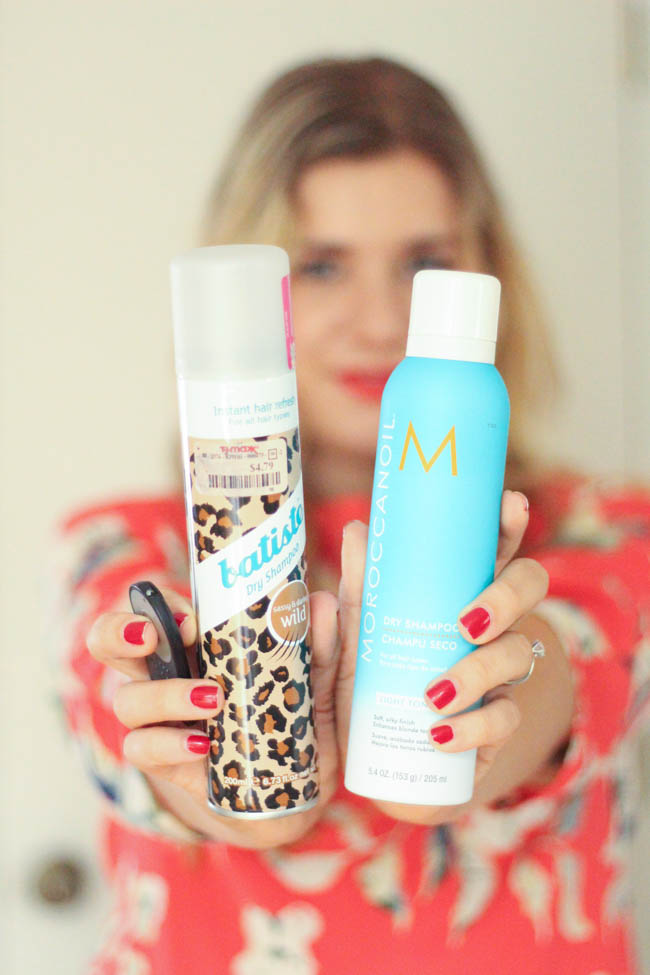
 Start by brushing out your hair and spraying a healthy dose of dry shampoo to your roots. I came in to the salon with clean hair on my wedding day and this dry shampoo added just the right amount of texture to the look. From there add any clip-in extensions, if you plan on wearing them. As I have long but thin hair, I wore my favorite extensions for added volume and bulk to my baby fine hair.
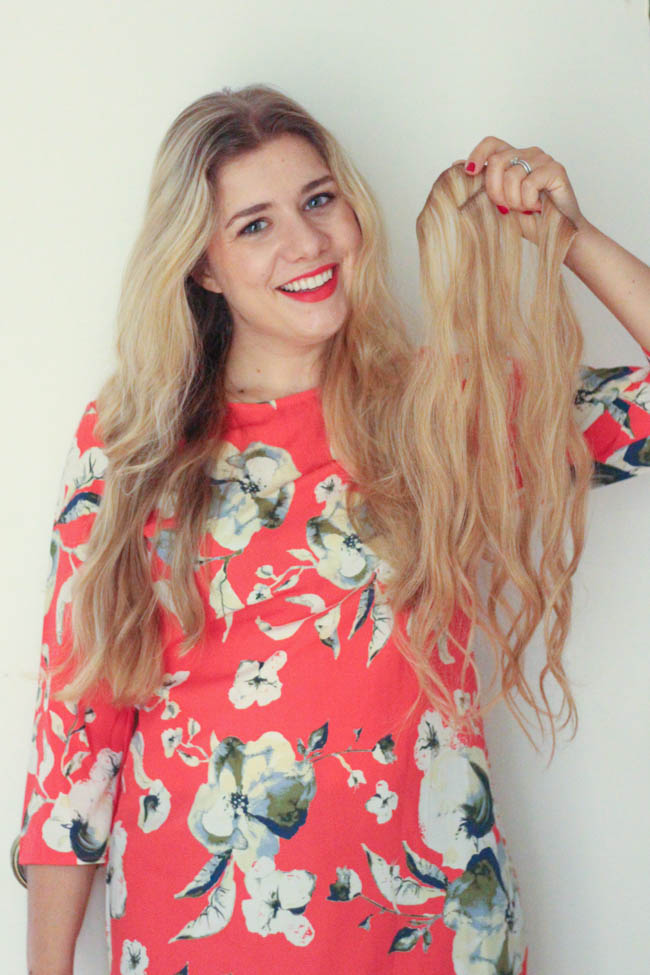
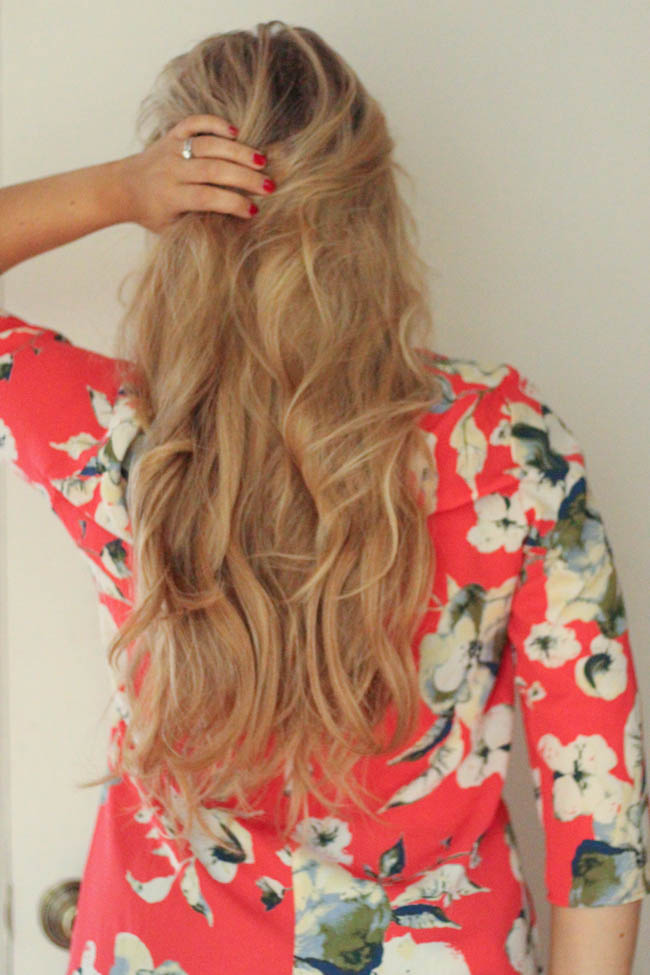
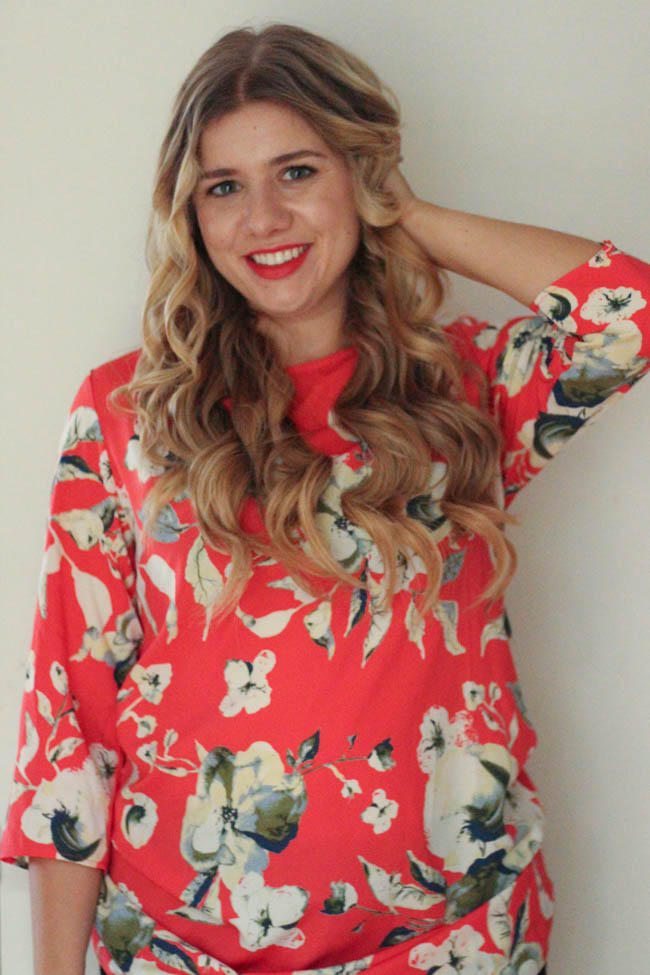
Now is the time consuming task of curling this whole mess of hair. If you’re wearing this style to an event, start with a tighter curl so that as your curls fall throughout the day, you’ll be left with big soft curls. Start curling one layer of hair at a time and no larger than a one inch section of hair per curl. And don’t forget to use hairspray both before and after creating your curled section for maximum hold.
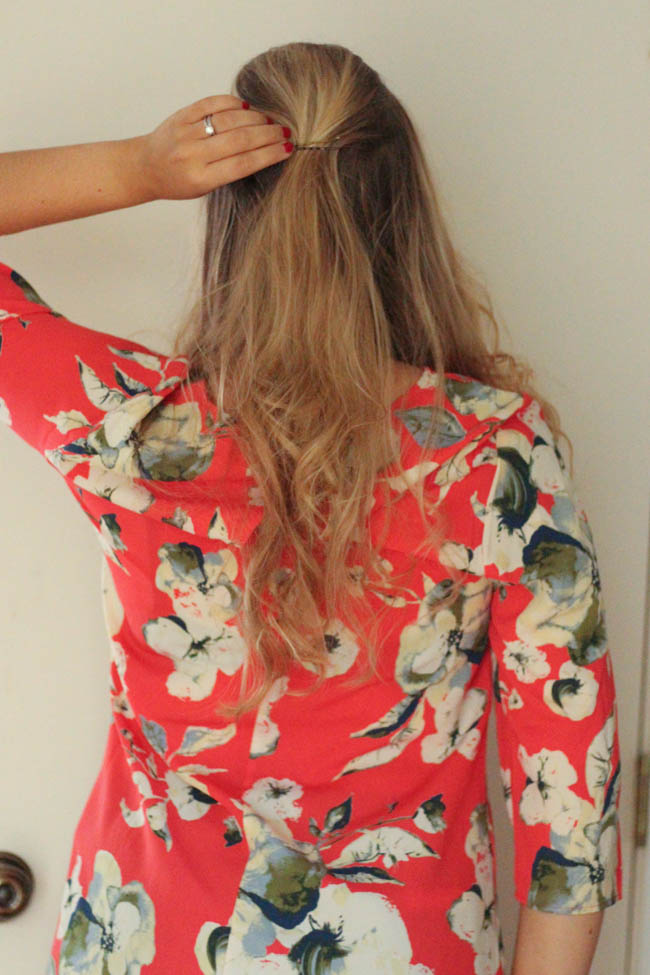
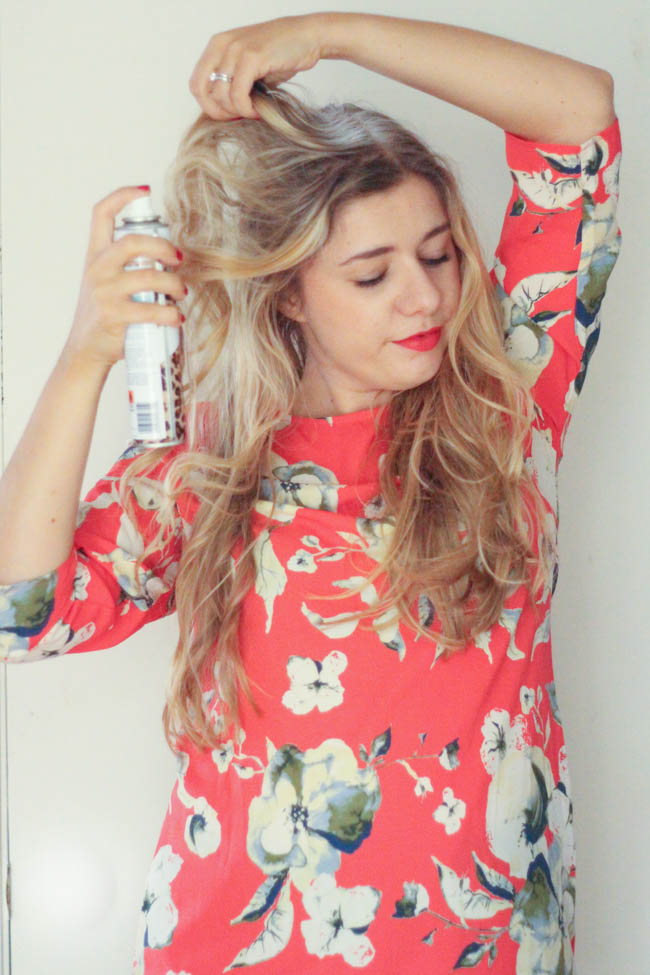
Now that you’ve got your curls, it’s time to add some volume. Start by teasing the hair at the crown of your head. You can go as big or as small as you like, but I suggest nothing to top the Jersey Shore look. Once you’ve achieved your desired level of “the higher the hair, the closer to God”, gently smooth out the top of the teased section and pin it back. These bobby pins will be hidden by our braids in just a minute.
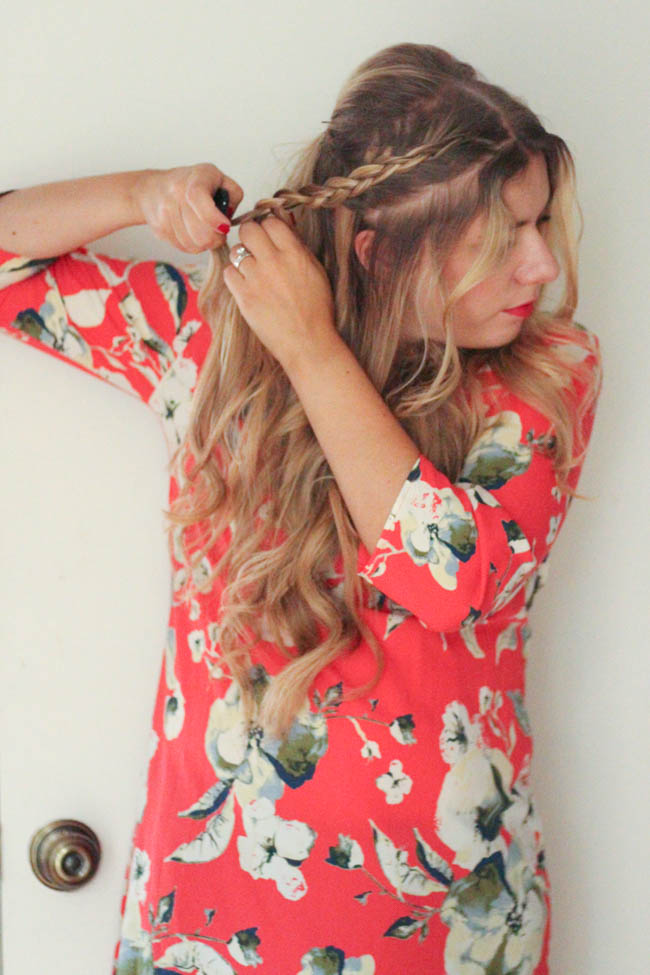
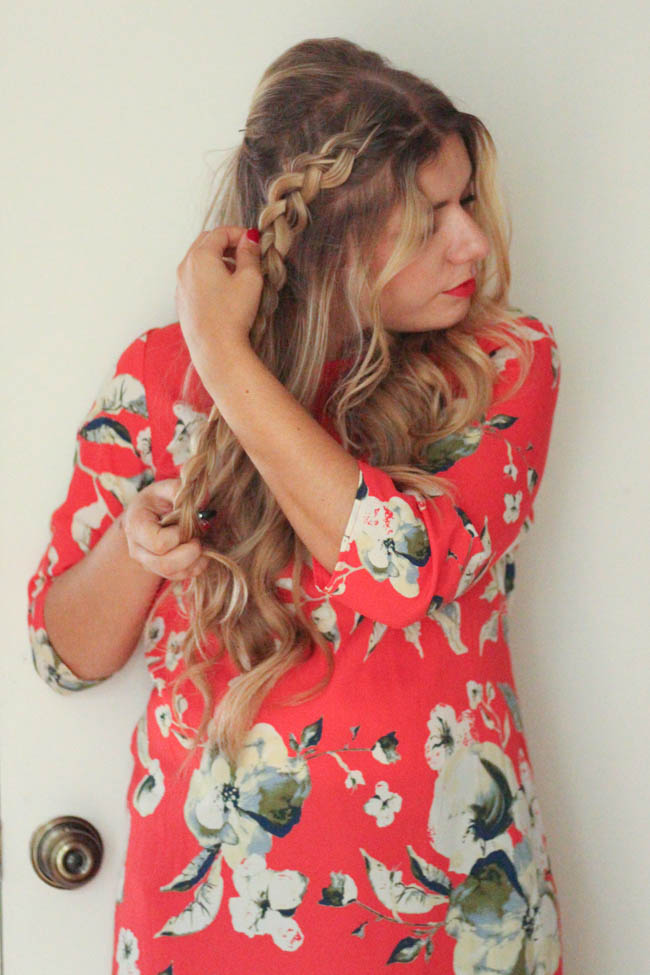
To start the braids, first section out any hair you want framing your face. Then start creating a dutch (inside-out) braid moving towards the center of your head. Once you’ve incorporated hair to the back of your head, continue braiding the remainder of the hair. Do this for both sides so you have two braids. Now comes the fun part! Start pulling gently on each loop of the braid until it is as large and pulled apart as you desire. (I have a video where you can see me doing this here) Once you’ve pulled apart, or pancaked as some call it, your braids to your liking, start arranging the two braids. I started by pinning one in place, the looping the second underneath to hide the ends. You could easily create all number of beautiful variations with your braids.
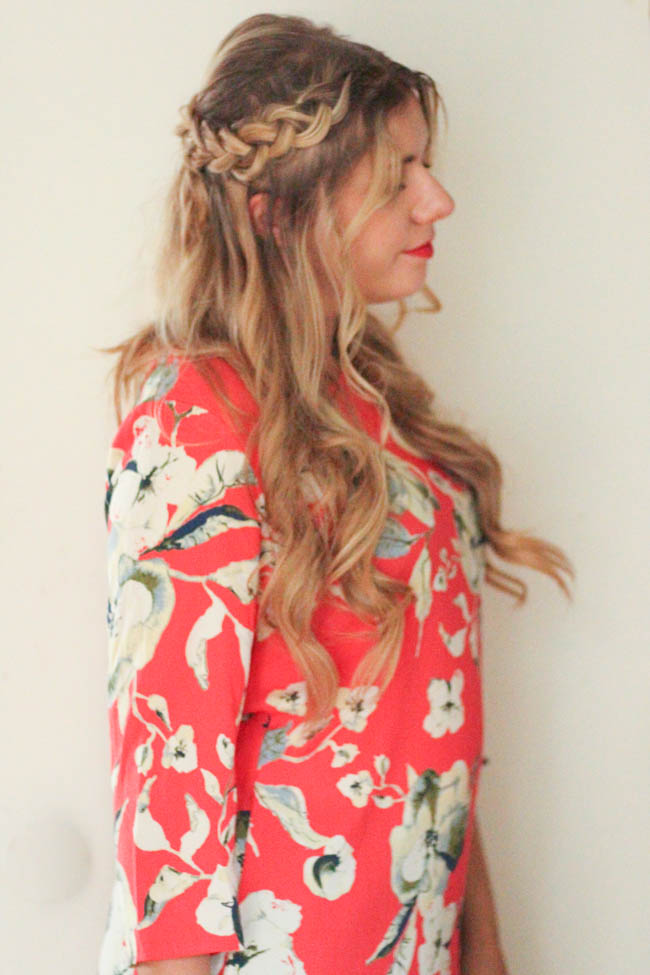
Finally add another spritz with some hairspray and add any hair accessories and you’re finished!
I think that this is a beautiful hairstyle any of you gorgeous ladies could recreate even without extensions, long hair, or even dutch braiding. This is easy to replicate with two simple braids pulled back that can be worn for so many different occasions!
Let me know if you recreate this hairstyle and tag me in your pictures as I love seeing your beautiful faces!


I love dutch braids! So pretty for Summer!
http://www.mylittlenest.org
This is gorgeous! I get so lazy with my hairstyles, so this was a wonderful tip!
xx, Tomi
http://goodtomicha.com